


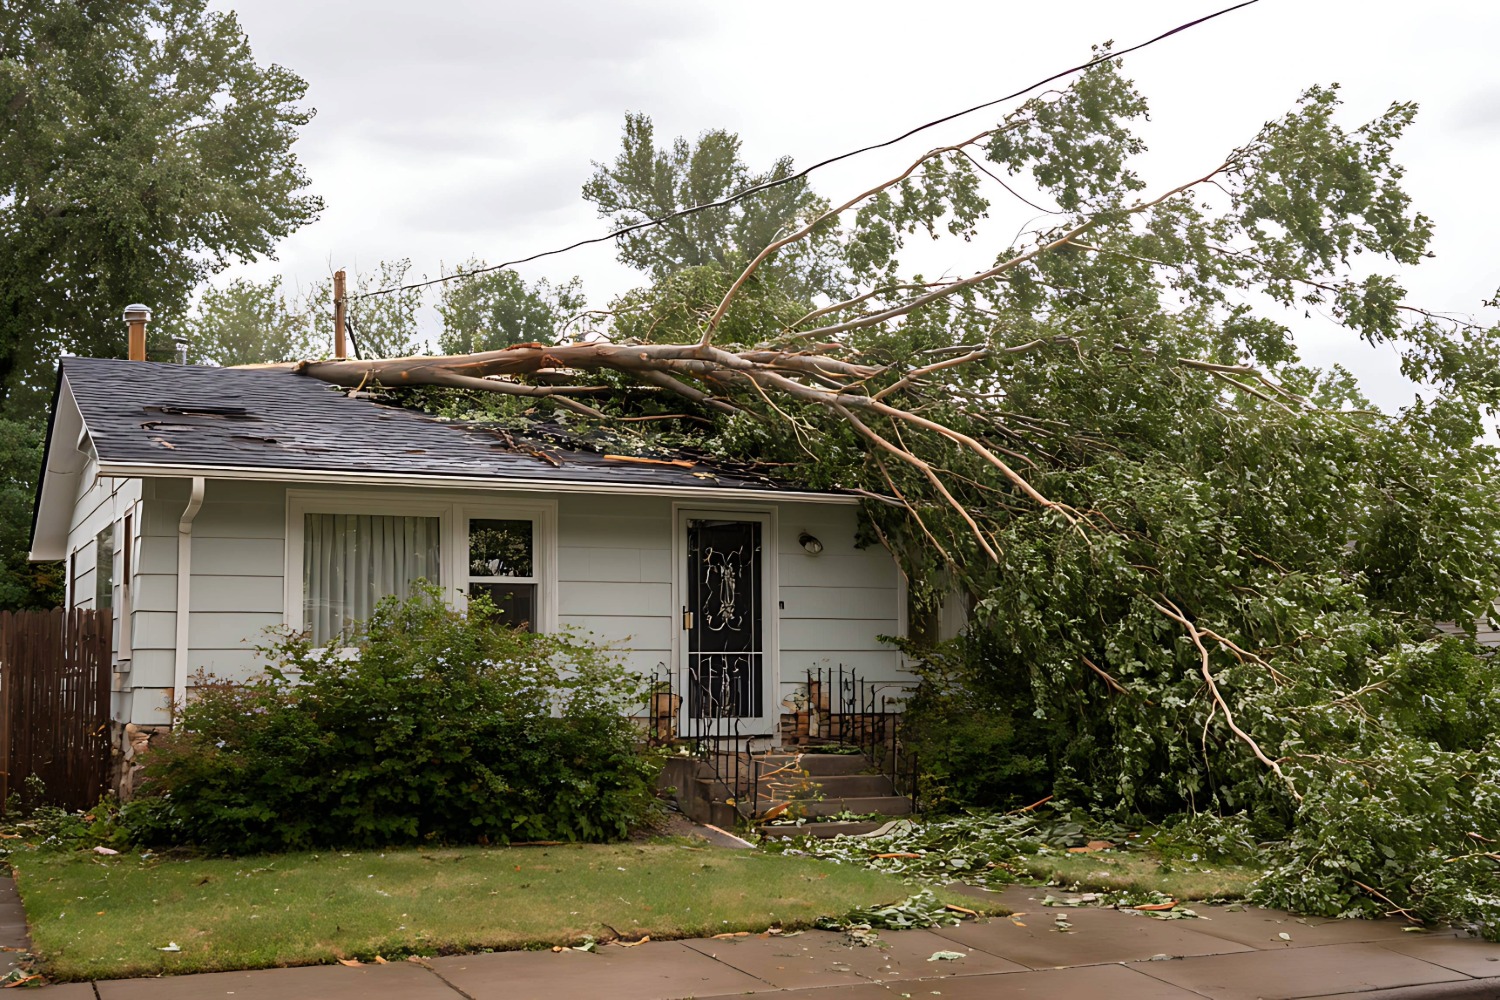
Everyone loves the shade but sometimes it isn’t as helpful as you might think. Texas has beautiful large trees with sprawling branches that sometimes reach over your home. Although tree branches are providing shade, they can also harm your roof.
Cloud Roofing is dedicated to making sure your roof is in the best condition possible to prevent dangerous situations. We put together this short guide to help you spot damage and prevent any further damage from taking place.
How to Spot Potential Problems
The best time to cut problem branches is in the fall once all of the leaves fall off the tree. Once the leaves are out of the way you have a clear view to spot any issues. There are a couple of signs you can look for when trying to identify if branches need to be cut off.
Rot
Any signs of rot or fungus are a good indicator that the branch needs to be cut down. If you do see fungus or rot on branches, be sure to check the rest of the tree. If the wood crumbles at your touch or is soft and brittle, the wood could be rotted. You can also test the wood with a screwdriver by pressing it against the bare wood, if the wood gives significantly, it is a sign of rot.
Browning Leaves
Take a look at your tree in the springtime. If one branch has only brown leaves, then it is a sure sign that the branch needs to be pruned to keep the tree healthy.
Split Branches
If you see branches that have gouges or splits on the bark, you should cut them down. Similarly, if branches are bowing at their weight, they should be cut down.
How to Trim Tree Branches

If you are simply trimming small branches, 2 inches wide or below, you can cut the branch where it connects to the tree and be done with it. However, if you are cutting off a branch that is well established or larger than 3 inches wide, you should be using the following steps so you do not damage your tree.
Step 1: Initial Notch Cut
This cut should be 2-3 feet away from the trunk and only go about halfway through your branch. Angle the cut from the bottom of the branch cutting skyward. The purpose of this cut is to avoid tearing the bark and damage the tree.
Step 2: Relief Cut
Remove the branch completely from the tree. By making the initial cut you prevented tree damage. Now you need to remove the weight of the branch. Remember to make sure that below the falling branch is clear of people or valuable items.
If this tree is right above your roof, you might want to cut it into smaller sections so the weight of the limb does not cause roof damage.
Step 3: Last Cut
The 3rd and final cut is used to remove the branch from the trunk. Cut the branch off so the outside surface is flush to the tree trunk. If you cut too deeply into the trunk, it can cause damage. If you do not cut close enough, it can cause the tree to not heal over correctly, creating an open wound.
Most arborists will tell you to not use “tree sealants” to seal the cut because it ends up doing more harm than good. Let the tree “bleed,” which simply means to let the natural sap coat the wound and do its magic.